

[ad_1]
Calendly appointment scheduling helps corporations streamline the method of reserving conferences and managing appointments. Calendar reserving options can simplify scheduling, scale back no-shows, and make sure that conferences are effectively organized.
Appointment scheduling templates for Calendly empower companies to automate their scheduling wants, shut offers quicker, and construct stronger relationships. This raises productiveness throughout all departments and accelerates enterprise progress.
Extra advantages:
Seamlessly handle appointments: Automated scheduling reduces back-and-forth communication to maintain conferences organized.
Customise scheduling preferences: Set particular availability, buffer instances, and appointment sorts to match your corporation wants.
Combine with calendars: Sync together with your present calendar programs to keep away from double bookings and guarantee all conferences are captured precisely.
Including an AI chatbot for Calendly scheduling creates a seamless, automated expertise. The Kore.ai XO platform is open and agnostic, which implies you’ll be able to combine its AI options with any system–together with Calendly.
Under is a information on easy methods to get began:
Join a Kore.ai account
Step one is to join an account on the Kore.ai XO Platform.
As soon as signed in, choose ‘New App’ to start out your AI Chatbot construct
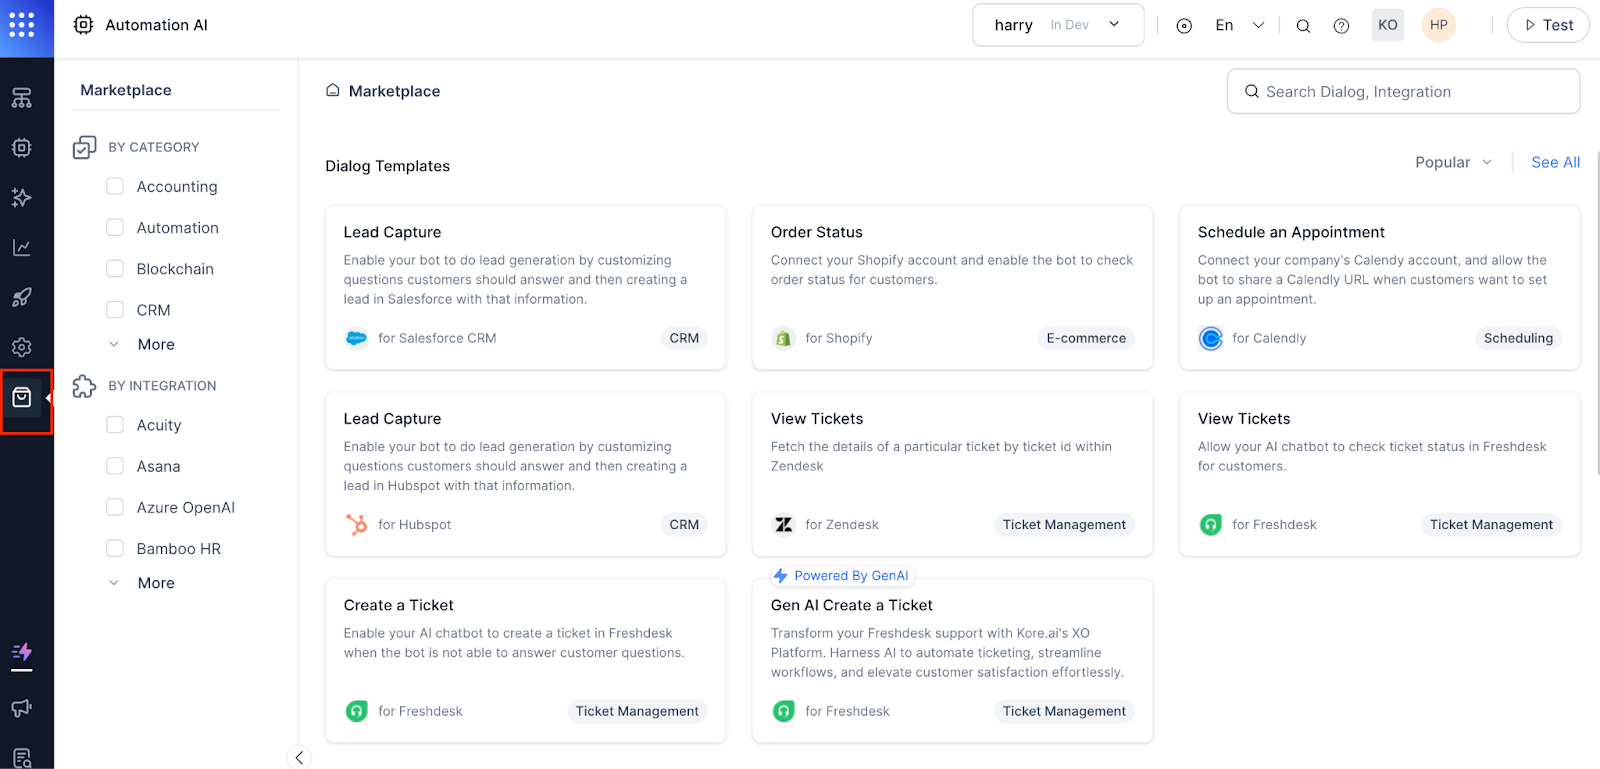
Start your new app undertaking by choosing Automation AI. When you’ve chosen, choose ‘Customized Setup’ and comply with the prompts to construct your AI chatbot.
Navigate to {the marketplace} and add the Calendly integration
Choose ‘integrations’ from the dropdown menu. From there, you’ll be able to configure Calendly together with directions and authorization.
Authenticate and set up
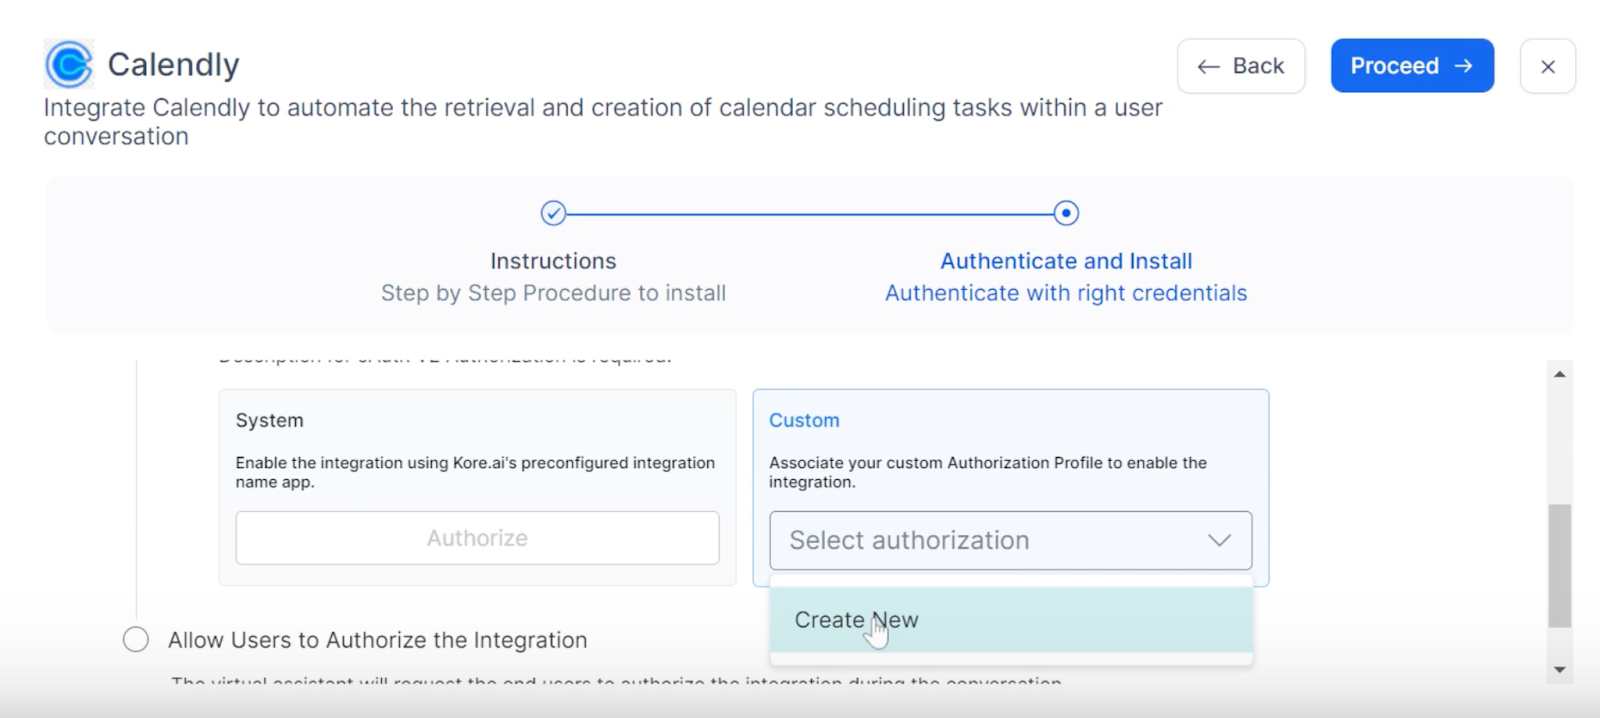
After you add the Calendly integration, comply with the step-by-step directions and proceed to ‘Authenticate and Set up.’ Beneath Customized authorization, choose ‘Create New’ from the dropdown menu.
You’ll be instructed to pick a New Authorization Mechanism. You should use the ‘oauth V2’ authorization kind for this integration.
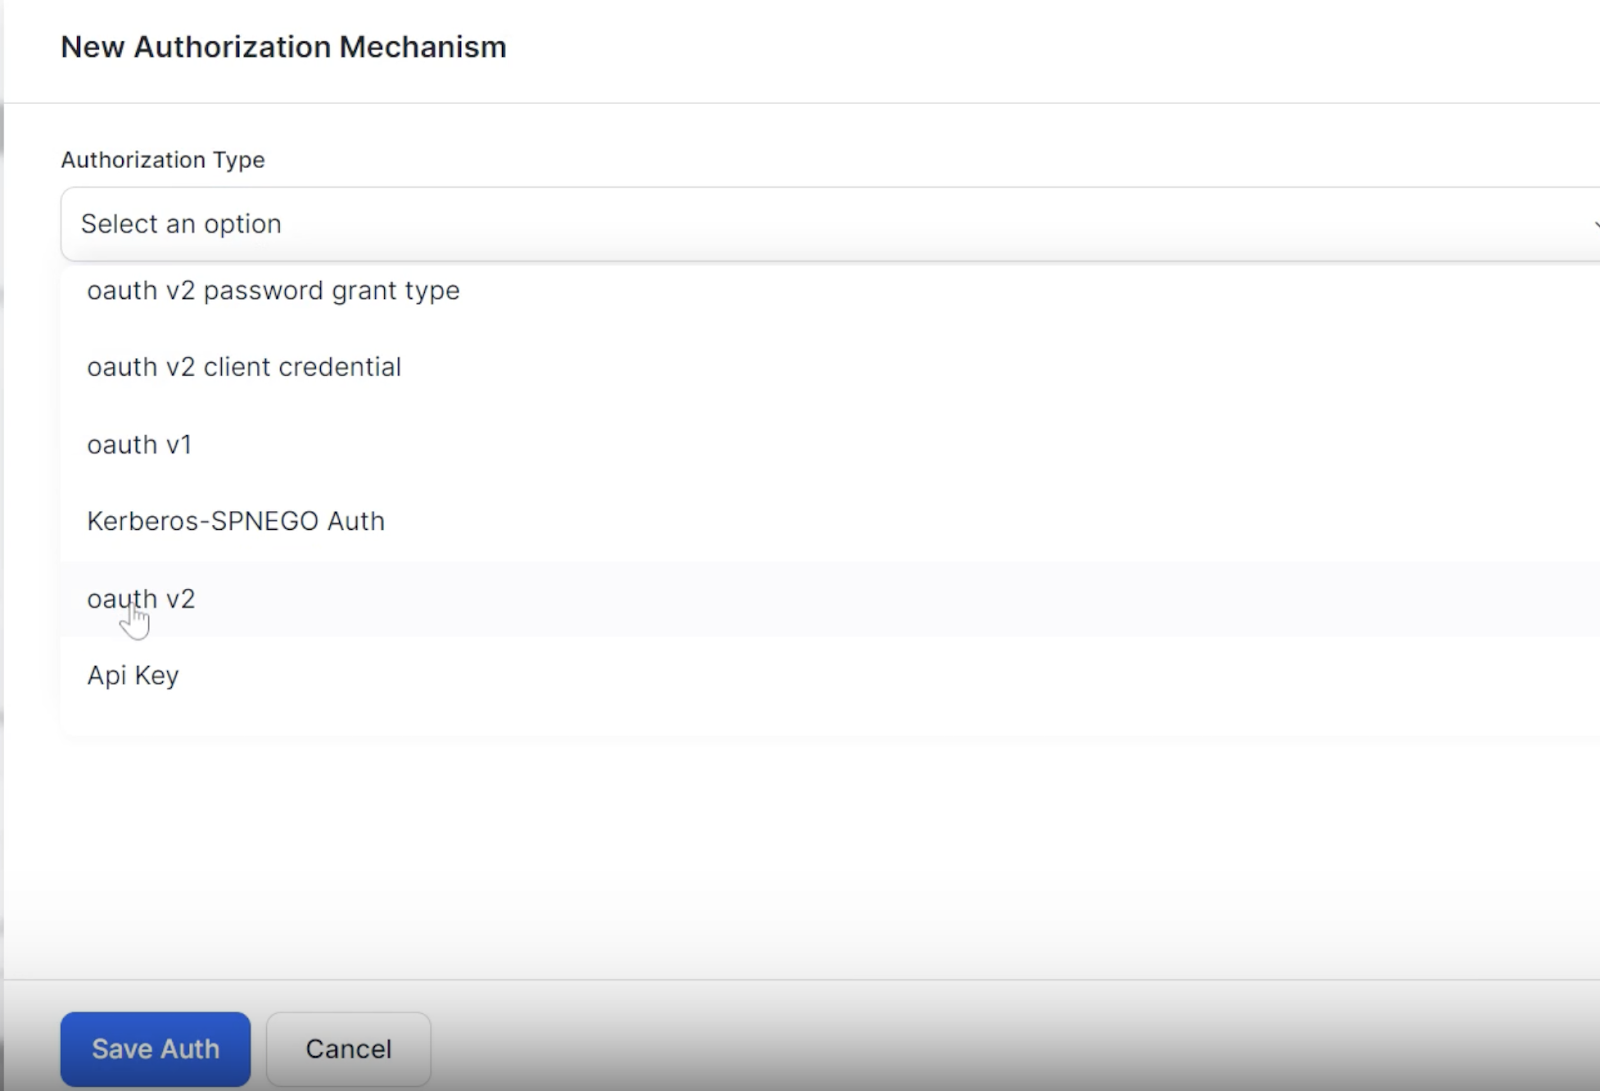
Enter the Identification Supplier Identify (Calendly), Shopper ID, Secret Key, Authorization URL, Token Request URL, and Refresh Token URL. Save your authorization with the blue button on the backside of your display.
Authorize your Calendly integration
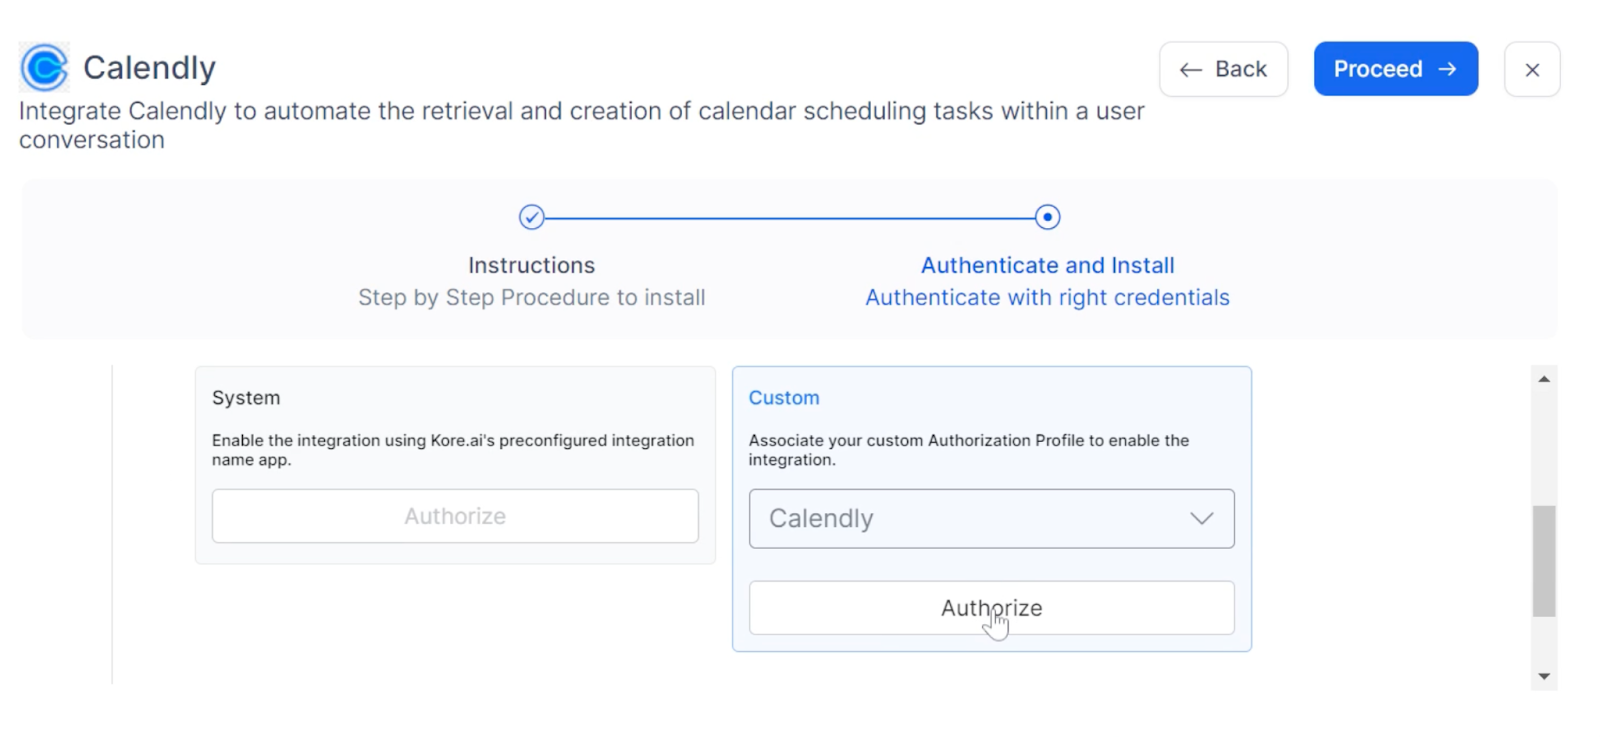
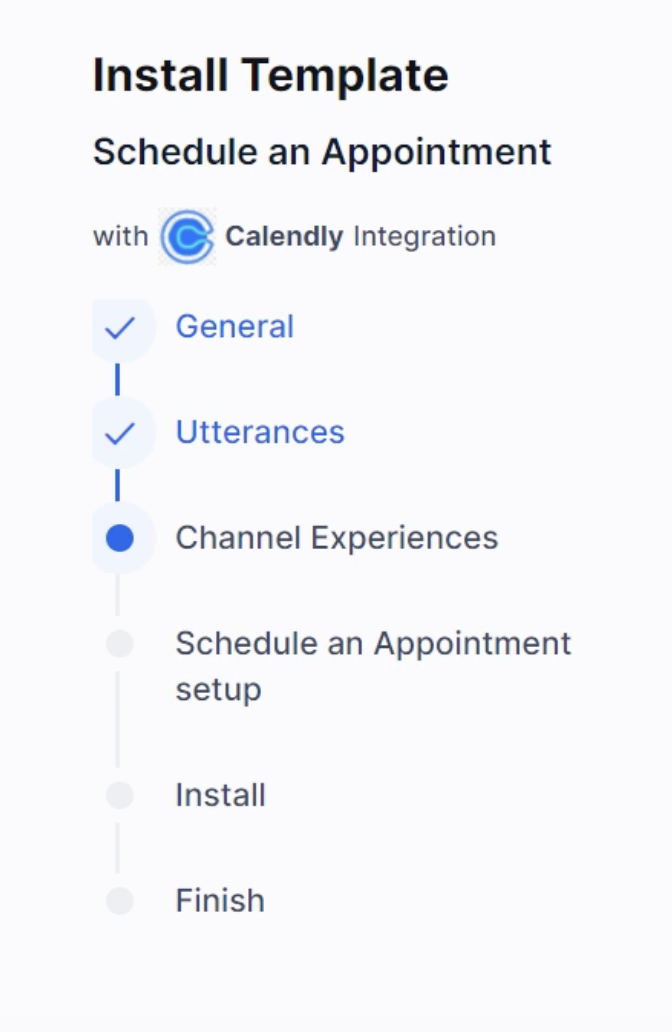
Observe the set up template
Progress via the guided steps to finalize your template integration. Make sure the title of your assembly matches the title of the reserving in Calendly.
Take a look at your new AI chatbot integration
After the template set up, you’ll be dropped at the Dialog web page. Click on ‘Take a look at’ within the higher right-hand nook of your show. You’ll be given the choice to pick a Voice or Chat Dialog for testing the flows.
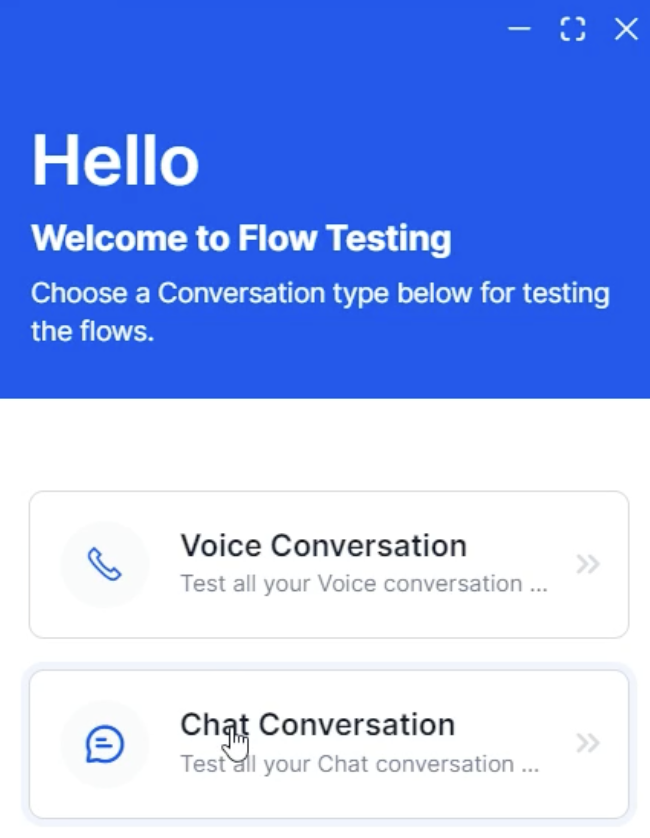
For this instance, we’ll give attention to Chat Dialog. As soon as chosen and your AI chatbot pops up, ask it to create a gathering. You possibly can even merely kind, ‘CreateMeeting.’

Click on ‘E-book my assembly’ so as to add the date, time, and assembly particulars. Then, click on ‘Schedule Occasion.’ The AI will routinely create a Calendly assembly for you.
Affirm your integration is working
Whereas logged into Calendly, you’ll be able to view the calendar occasions created by Kore.ai. Be at liberty to run duties like schedule, edit, and synchronize, simply and effectively from a unified platform.
Get began with a Calendly integration in minutes
[ad_2]
Source link


